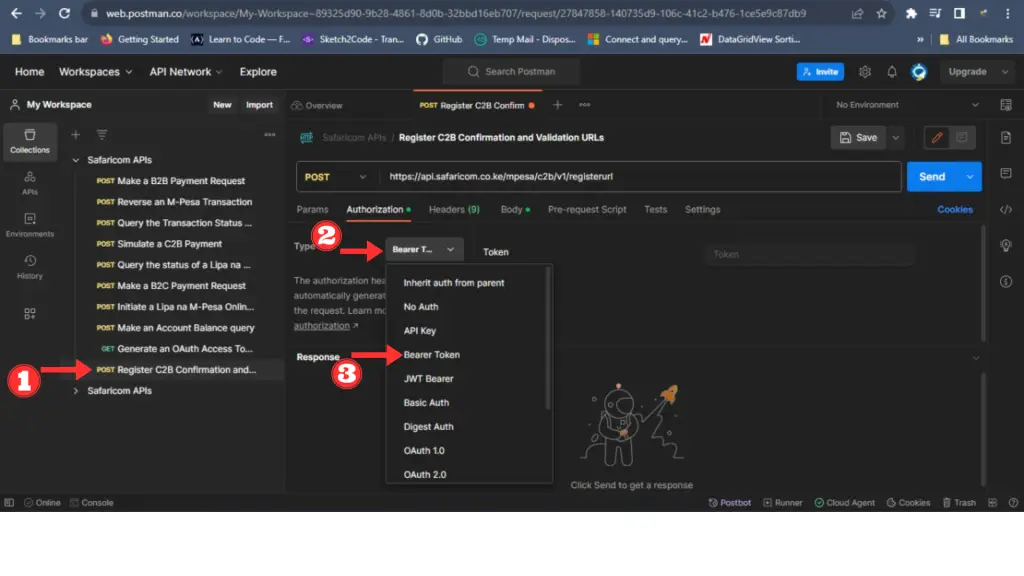
Course Content
Building Your First Mpesa Integration
This topic focuses on guiding you through the process of building a functional Mpesa integration from scratch. You will learn how to set up a backend for handling API requests, generate secure access tokens for authentication, and implement an STK Push transaction to facilitate payments. By the end of this topic, you will have a working example of Mpesa integration.
0/3
C2B and B2C Integrations
In this topic, learners will explore the core concepts of integrating Mpesa's Customer-to-Business (C2B) and Business-to-Customer (B2C) payment functionalities. The lessons will cover configuring C2B payments to enable customers to pay businesses and using B2C for disbursing funds to customers. Additionally, the topic will explain how to implement real-time transaction status updates to ensure seamless payment tracking and reconciliation.
0/3
Testing and Debugging
This topic focuses on ensuring the reliability and correctness of Mpesa integrations by testing in the sandbox environment, debugging using logs and tools like Postman, and eventually transitioning to the production environment. By the end of this topic, learners will be equipped with practical knowledge of testing and debugging their integration effectively.
0/3
Security and Best Practices
This topic covers the critical aspects of securing your Mpesa integration by properly managing API keys and tokens, handling errors in a way that improves the user experience, and complying with Mpesa’s integration guidelines. Following these practices ensures that your integration is secure, reliable, and in line with best practices, minimizing the risk of fraud and ensuring smooth operations.
0/3
Real-World Application
This topic explores how Mpesa can be seamlessly integrated into real-world applications, particularly e-commerce platforms. It covers integrating payment systems, customizing user experiences to enhance payment flows, and using analytics for business insights. By the end of this topic, learners will understand how to leverage Mpesa for creating smoother and more efficient payment processes, as well as tracking transactions for actionable insights.
0/3
Build a Payment Gateway with Mpesa
In this project, learners will apply the skills acquired throughout the course to build a functional payment gateway integrated with Mpesa. The project will walk through the entire process, from backend setup and API integration to handling transactions and user feedback. By the end of this topic, learners will have developed a working payment gateway and be ready to present their projects for review and feedback.
0/3
Introduction to Mpesa Integration
Gain an understanding of Mpesa’s role in facilitating mobile payments. Learn about its features, real-world applications, and benefits in businesses. This module covers the prerequisites for starting your Mpesa integration journey.
0/2
Setting Up The Environment
In this topic, you learned how to set up the environment for Mpesa integration. This includes registering on the Mpesa Daraja Portal, acquiring API credentials, and using tools like Postman and Ngrok for development and testing. You also set up a local server, configured callback URLs, and simulated transactions in the sandbox environment. Finally, you prepared for production by understanding the approval process and transitioning to live operations. These steps form the foundation for successfully integrating Mpesa APIs into your application.
0/4
Understanding Mpesa APIs
This topic provides an overview of the various Mpesa APIs available for integration. You will learn about the key API services that facilitate mobile money transactions, such as the STK Push, C2B, B2C, and Account Balance APIs. Understanding how each API works will help you design robust and efficient payment systems, and ensure seamless transactions between businesses and customers.
0/3
Mpesa Integration – Daraja API :Crash Course
Applying the skills acquired throughout the course, the video below will guide you to build a functional payment gateway integrated with Mpesa. The project will walk through the entire process, from backend setup and API integration to handling transactions and user feedback. By the end of this topic, you will have developed a working payment gateway and be ready to present your projects for review and feedback.
0/2
M-Pesa Integration MasterClass
About Lesson
  1. Postman

    • Overview: Postman is a popular API development tool used to send requests and test responses when integrating APIs.
    • Features:
      • Send HTTP requests to test Mpesa endpoints.
      • Visualize responses and debug errors.
      • Organize and save requests in collections for reuse.
    • Installation:
      • Download Postman from here.
      • After installation, sign in or create an account to sync your work across devices.
  2. Ngrok

    • Overview: Ngrok is a tool that creates secure tunnels to localhost, allowing you to expose your local server to the internet. This is especially useful for testing callback URLs during Mpesa integration.
    • Features:
      • Expose local development environments for public access.
      • Create secure, shareable URLs for your development server.
      • Test your API integrations with real-world callback data.
    • Installation:
      • Download Ngrok from here.
      • After installation, run ngrok http 8000 to expose your local server (running on port 8000) to the internet.
      • Ngrok will provide a public URL, such as https://abcd1234.ngrok.io, which can be used as your callback URL.
  3. XAMPP or Local Development Environment

    • Overview: XAMPP (or similar tools like WAMP) is a local server environment for PHP development. Alternatively, use Node.js for JavaScript-based applications.
    • Features:
      • Install and manage Apache, MySQL, and PHP for full-stack development.
      • Enable HTTPS support (important for secure connections with Mpesa).
    • Installation:
      • Download XAMPP from here.
      • Start Apache and MySQL to run your PHP scripts locally.
  4. Text Editor/IDE (e.g., Visual Studio Code)

    • Overview: Visual Studio Code (VS Code) is a versatile and lightweight text editor used for writing and editing code. It supports multiple languages like PHP, JavaScript, HTML, and CSS, making it ideal for web development.
    • Features:
      • Syntax highlighting and error checking.
      • Git integration for version control.
      • Extensions for added functionality (e.g., REST client for testing APIs).
    • Installation:
      • Download Visual Studio Code from here.
      • You can install extensions like “REST Client” to directly test APIs from within the editor.